Contour and Highlight Tutorial for an Easy Natural Look
October 10, 2026 · 4 min read
A contour and highlight tutorial for real faces: choose shades, map your own features, blend in daylight, and fix muddy or harsh placement.
Understand What Each Step Does
A contour and highlight tutorial is easier to follow once you know the goal behind each step. Contour creates shadow to shape and slim, while highlight catches light to lift and define. They work as a pair. Using only one usually looks flat or unbalanced.
Shade selection decides whether the result looks like a shadow or a stripe. Choose a contour a few steps deeper than your skin with a cool, grayish tone, not a warm bronze meant for glow. The wrong undertone reads as dirt or mud on the skin, especially in daylight, where every error shows.
Highlight should sit close to your natural skin tone, just a touch lighter or with a soft sheen. Chunky glitter draws attention to texture rather than creating light. A matte or satin finish blends more believably for daytime, while a subtle shimmer works for evening when light is low and forgiving.
Map Your Own Face
Faces differ, so a contour and highlight tutorial is a guide rather than a template. Feel for the hollow just below your cheekbone when you suck in your cheeks slightly, or follow the line from the top of your ear toward the corner of your mouth. That diagonal is usually where shadow belongs.
Jaw and forehead shaping depends on your face shape. A soft line under the jaw can define a rounder face, while a narrow face may need less there. A little along the hairline and temples adds depth to the forehead. Keep lines short and blend before judging the result.
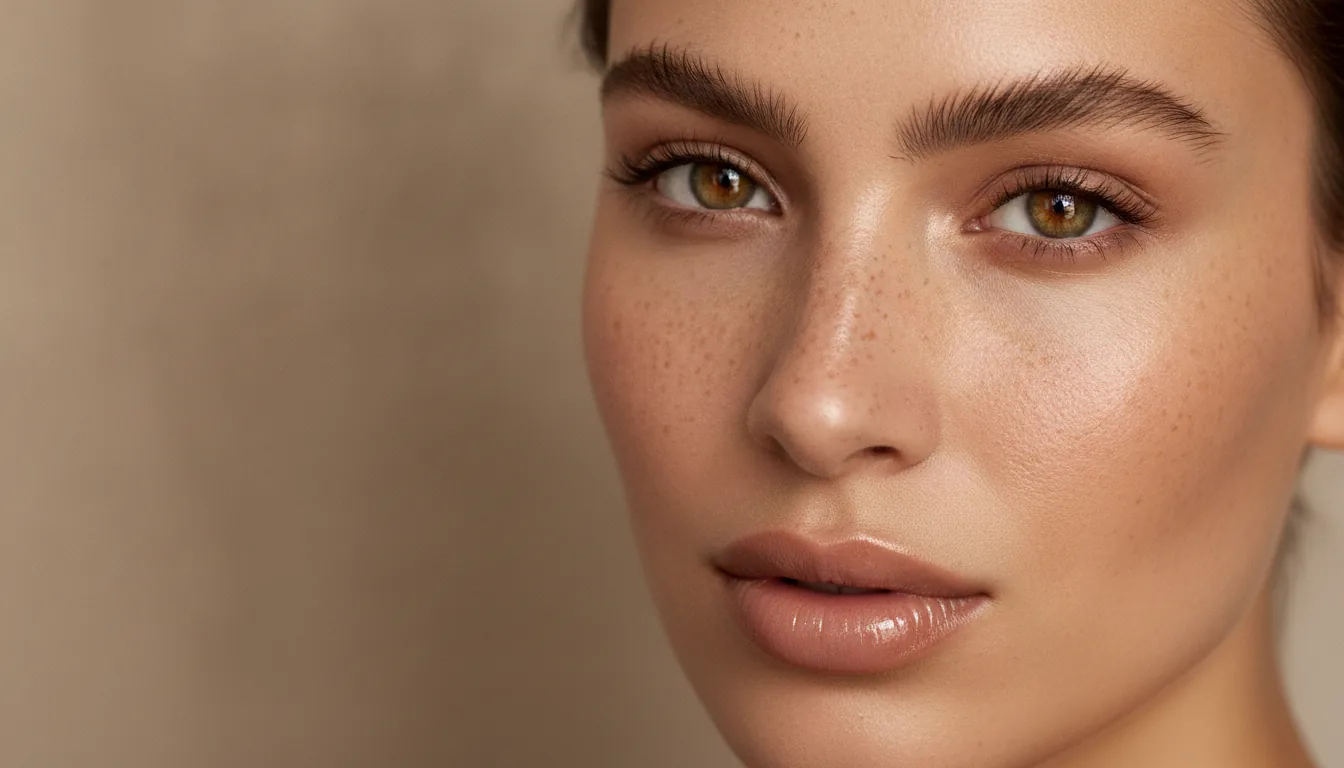
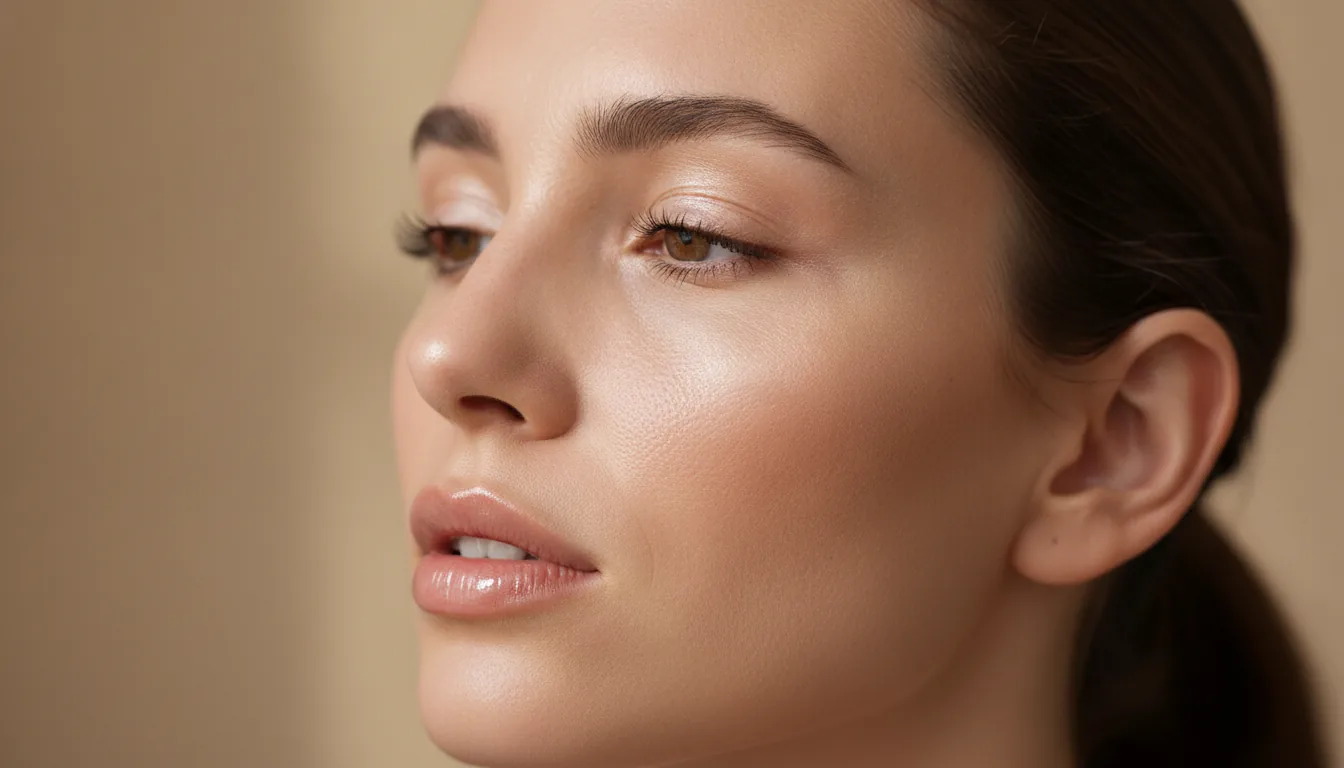
High points are the places light naturally hits. The tops of cheekbones, the bridge of the nose, the center of the chin, and just above the brow all catch light. Choose two or three of these rather than all of them, so the face still looks like a face.
Blend and Check in Real Light
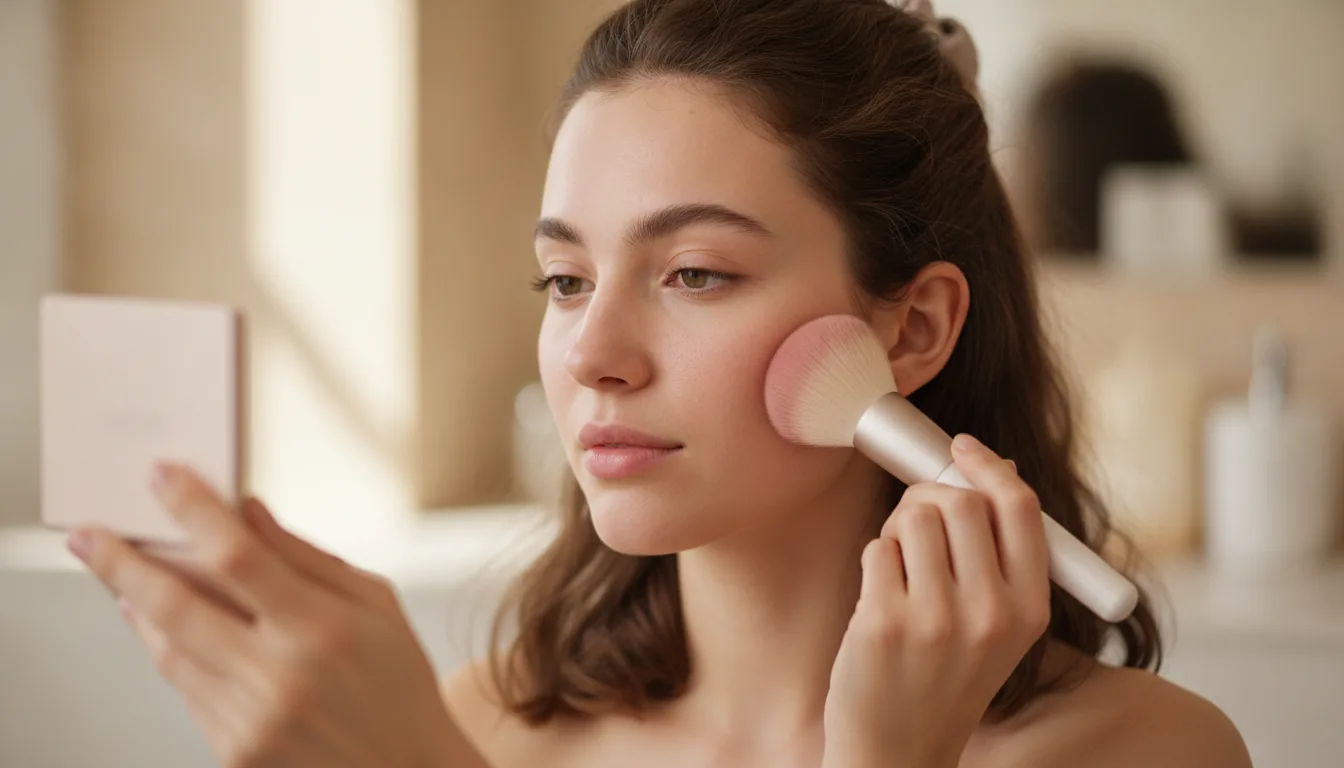
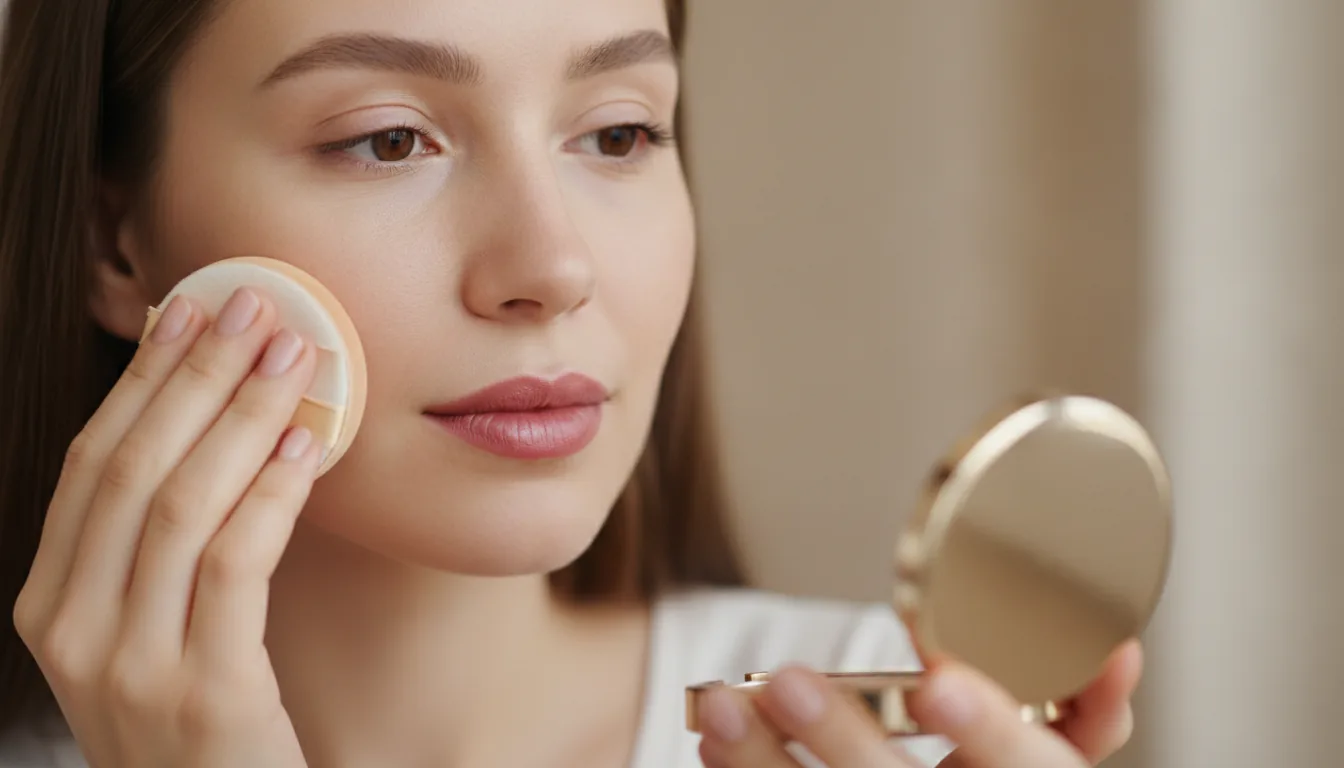
Blending is what separates shaping from stripes. Use a dense brush or a damp sponge to soften the edges of the contour until no hard borders remain. Work in small circles and build the intensity slowly, because adding more is easy while removing too much is not.
Check your work in daylight whenever possible. Bathroom lighting flatters everything and hides over-application, so a mirror near a window is a better judge. If the contour looks obvious indoors, it will look heavier outside. Step back and look at the whole face, not just the area you are working on.
When a contour and highlight tutorial leaves you unsure whether a shape suits you, preview it before committing product. On aitrytry.com you can upload a selfie, adjust placement, and compare options on your own features. It is a low-pressure way to experiment before a night out or a photo session.
Match the Finish to the Occasion
Cream products melt into skin and suit dry or mature complexions, because they move with the face instead of sitting on top. Powders last longer and control shine, which helps oily skin. Many people combine both, using cream first and setting lightly with powder where it tends to break down.
For daytime, keep the contrast low so the face reads naturally under bright, even light. Evening allows a little more depth and a stronger highlight, since dim light softens edges. The same placement can look subtle at noon and dramatic at night, so adjust the intensity rather than the technique itself.
Sweat and humidity test any look. If you know you will be outdoors, a lighter hand and a setting spray help the shaping survive. Press the spray on with a sponge rather than misting heavily, and avoid touching your face, which disturbs blended edges faster than anything else.
Troubleshoot the Common Problems
If the contour looks muddy, the culprit is usually the wrong shade or too much product. Remove some, then re-blend the edges with a clean brush. Warm tones on cool skin turn gray; cool tones on warm skin turn ashy. Matching undertone to undertone solves most of these problems quickly.
Skip the trendy stripe that runs from ear to mouth if it looks harsh on you. Softer placement near the natural shadow works better for most faces. A lighter touch usually reads as good bone structure, while a heavy line reads as makeup. The goal is to look like yourself with slightly more definition.
Expect to practice a few times before the placement feels natural. Hands learn through repetition, and the first tries often look uneven. Keep products minimal while you build skill, and adjust one element at a time. This contour and highlight tutorial works best as a starting point you refine to fit your own features.
See it on your own photo
Upload one photo, choose a look, and preview the result in seconds. New accounts start with 20 free credits and every generated image costs 10.
Try AI Makeup