Korean Makeup Tutorial: A Beginner-Friendly Routine
October 10, 2026 · 5 min read
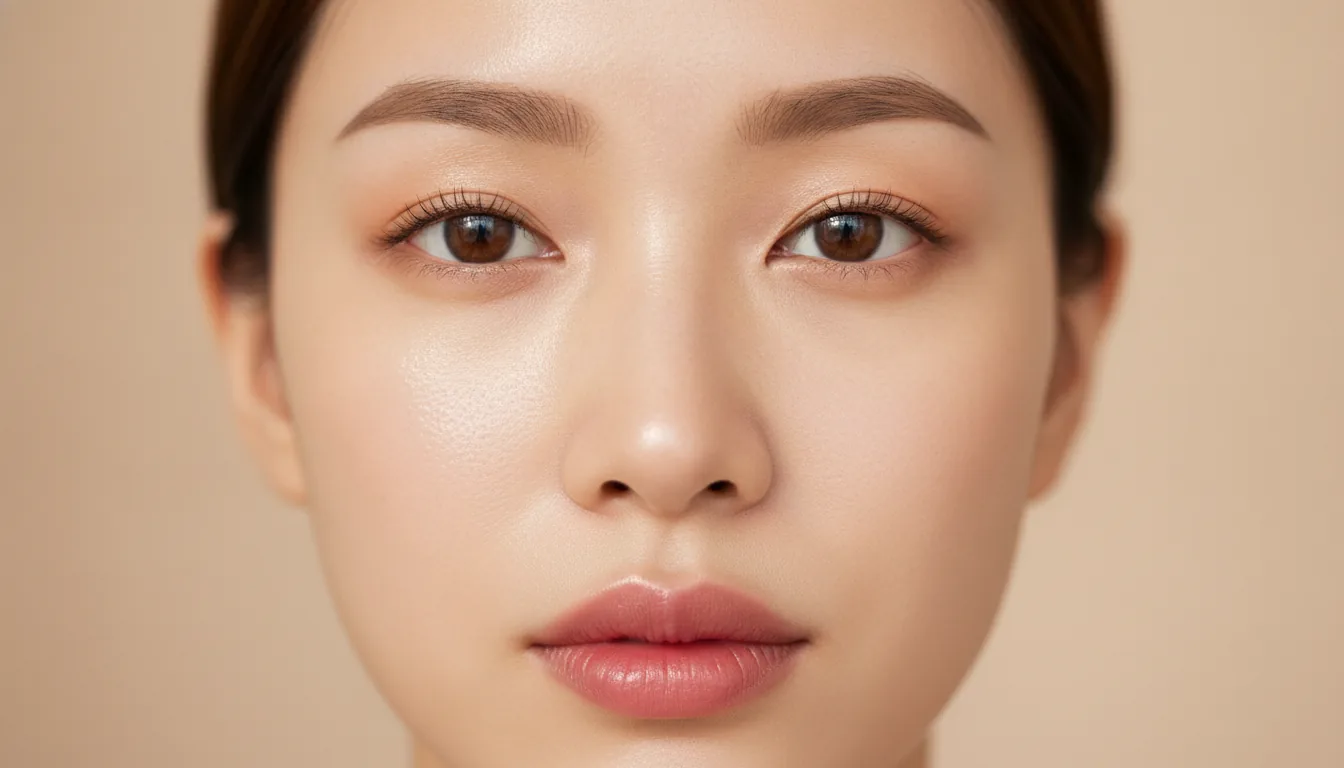
Follow this Korean makeup tutorial for glass skin, straight brows, and a soft gradient lip. Preview each step on your own face before you commit.
Why Korean Makeup Looks So Fresh
A good Korean makeup tutorial starts with a simple promise: fresh, luminous skin and features that look naturally defined. The style favors dewy bases, soft straight brows, and small gradient lips over heavy contour. It photographs beautifully and reads as healthy rather than made-up. If that description appeals to you, the steps below will get you there without a crowded vanity.
The philosophy behind this style is layering light textures instead of covering the face. Thin layers build up slowly, so skin still looks like skin by the end. That is the opposite of painting over everything and hoping for the best. Once you understand the layering idea, the individual products matter far less than the order you apply them.
Before you begin, know that these trends shift fast and differ across regions and age groups. What is popular in Seoul today may read as dated elsewhere next year. Treat any routine, including this one, as a starting point you adjust rather than a rule you obey. The goal stays constant even when the trendiest technique changes.
Prepping Skin for a Dewy Base
This Korean makeup tutorial begins long before foundation. Cleanse gently, then layer a hydrating toner two or three times, pressing each layer in with your palms. Follow with a lightweight moisturizer and a few minutes of wait time so everything absorbs. This preparation is what gives the base its bounce. Rushing it is the most common reason a dewy look turns patchy by afternoon.
Sunscreen belongs in every morning routine, even under makeup. Choose a fluid formula that finishes without a heavy cast, and let it set before the next step. If your skin is oily, a mattifying primer only on the T-zone keeps shine in check. If it is dry, skip the primer entirely and rely on the moisture layers you just applied.
Color correction is optional but useful for anyone with redness or dark circles. A touch of green on red areas or peach under the eyes neutralizes the tone before foundation, which means you can use less base overall. Apply sparingly and tap, do not rub. The skin should look even, not tinted, once the correction settles in.
The Foundation and Cushion Step
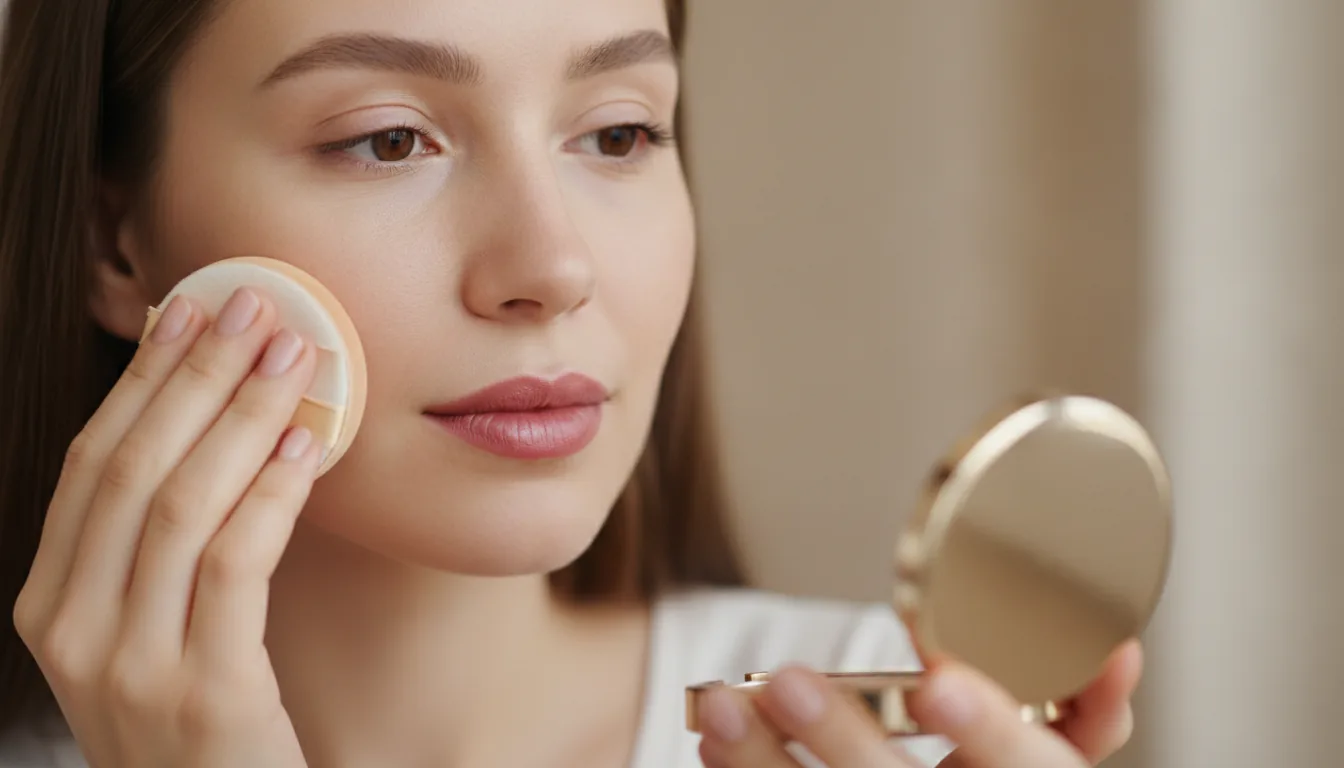
For coverage, a cushion compact or a light foundation applied with a puff gives the soft, airy finish this style is known for. Pat the product onto the center of the face first, then blend outward with the puff, using less as you reach the edges. Two thin layers beat one thick one. If you can see the makeup sitting on your skin, you have used too much.
Conceal only what the base did not cover, usually the under-eye and a few blemishes. Use a small brush and blend the edges until they disappear. Skip heavy setting powder on the cheeks if you want the glow to survive; powder only where you genuinely crease or shine. The difference between glowing and greasy is mostly where you place the powder.
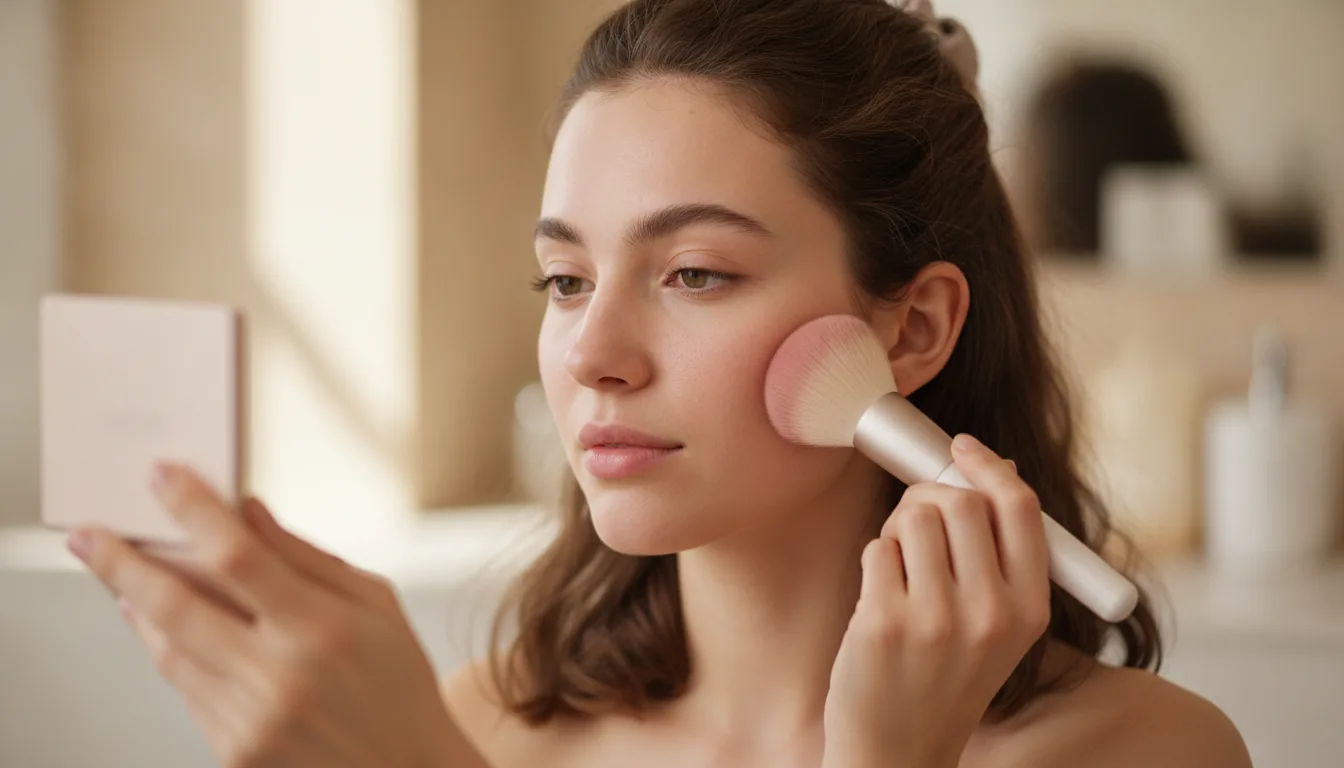
A sheer wash of cream blush high on the cheeks keeps the fresh look going. In a Korean makeup tutorial, blush often sits a little higher than you might expect, lifting the face rather than just adding color. Blend it with the same puff or your fingers so there is no obvious starting point. A subtle wash reads younger than a strong, defined cheek.
Brows, Eyes, and the Gradient Lip
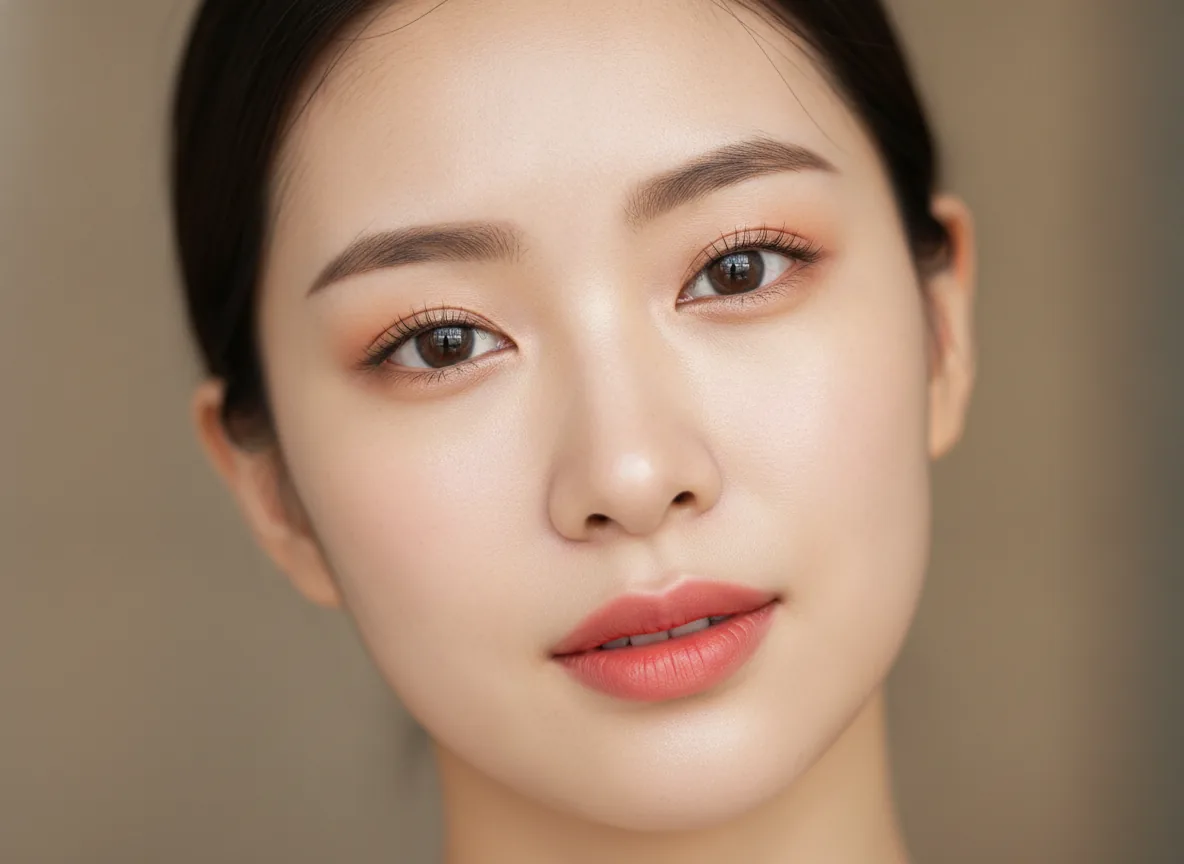
Brows in this style are soft and straight rather than sharply arched. Fill sparse areas with light strokes of a brow pencil, following the natural direction of the hair, then brush through with a spoolie to soften. If your brows are already full, a clear gel is enough. Straight brows open the eye area and pair well with minimal shadow.
Eye makeup stays light. A single wash of a warm neutral over the lid, a touch of shimmer in the center, and a fine line close to the lashes is usually all you need. Instead of a bold wing, focus on curling lashes and applying mascara to the roots. The point is bright, awake eyes, not dramatic shape, so resist the urge to add more.
The gradient lip is the signature finish. Apply a tinted balm or a light lip color to the center of the lips, then blend the edges outward with your fingertip until the color fades. This softer edge looks youthful and forgiving. Choose a shade close to your natural lip tone for everyday, or a brighter one for a photoshoot.
Making the Routine Yours
Every face reacts differently to these steps, so treat the order as adjustable. If your skin is very oily, you may prefer a matte primer and a lighter cushion. If it is very dry, an extra moisture layer and a hydrating mist will serve you better. The tutorial is a framework, and your own skin writes the final version.
Testing shades before an event saves time and money. Instead of buying four cushions to find the right match, upload a selfie to aitrytry.com and preview how different tones look on your own face. You can compare a few options, narrow them down, and only then buy the one that actually flatters you. Guessing in a store mirror rarely works as well.
Practice this Korean makeup tutorial three or four times before wearing it somewhere important. Muscle memory makes the layering faster, and you will learn exactly how much product your face needs. Keep the steps you like and quietly drop the ones that do not suit you. A good routine is one you can repeat on a rushed morning without thinking about it.
See it on your own photo
Upload one photo, choose a look, and preview the result in seconds. New accounts start with 20 free credits and every generated image costs 10.
Try AI Makeup