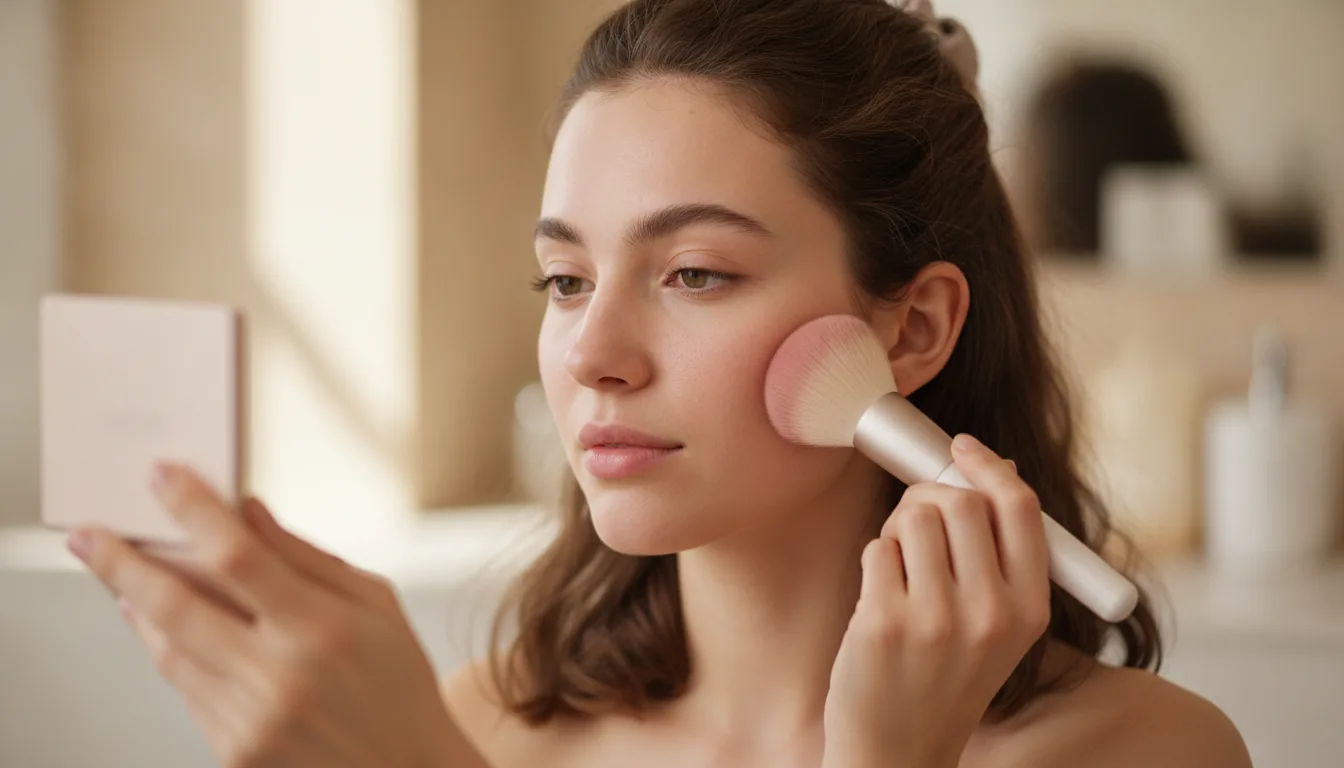
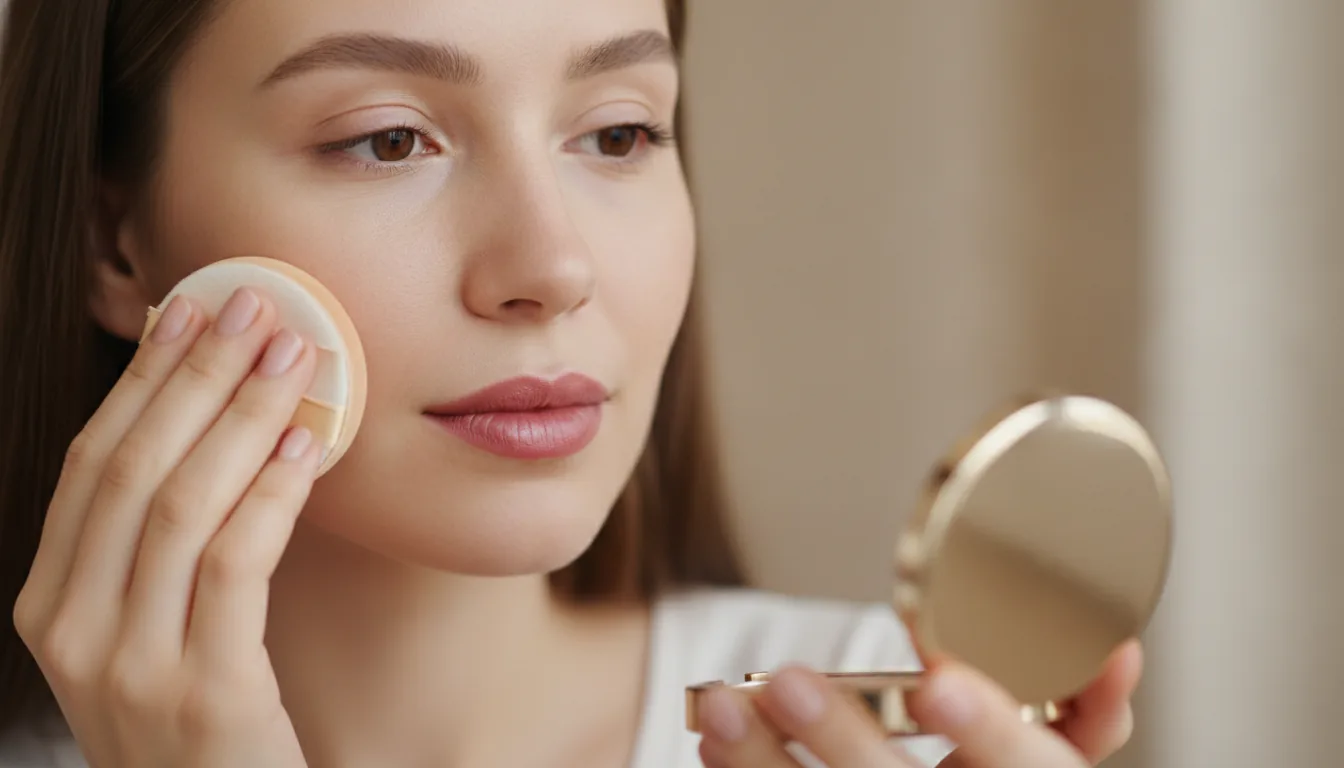
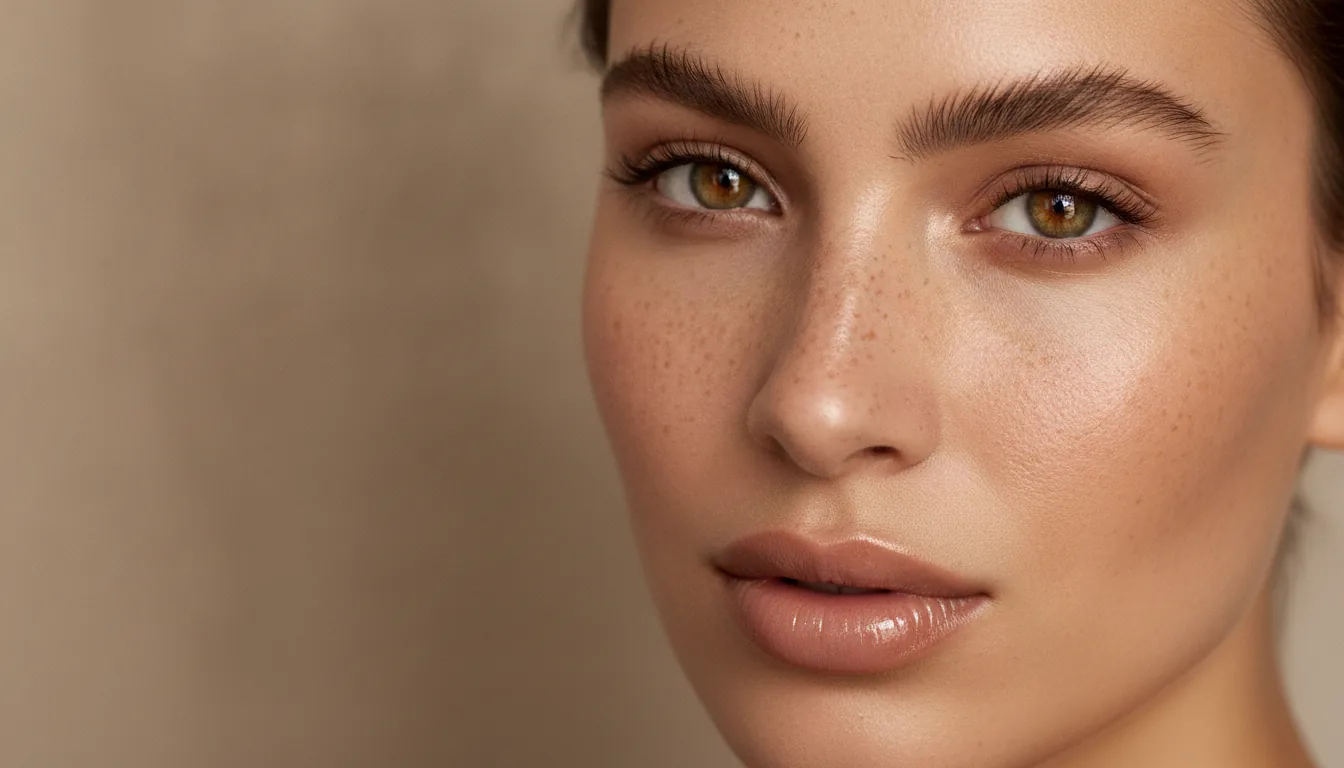
Eye Makeup Tutorial: Blending Order for Beginners
October 10, 2026 · 4 min read
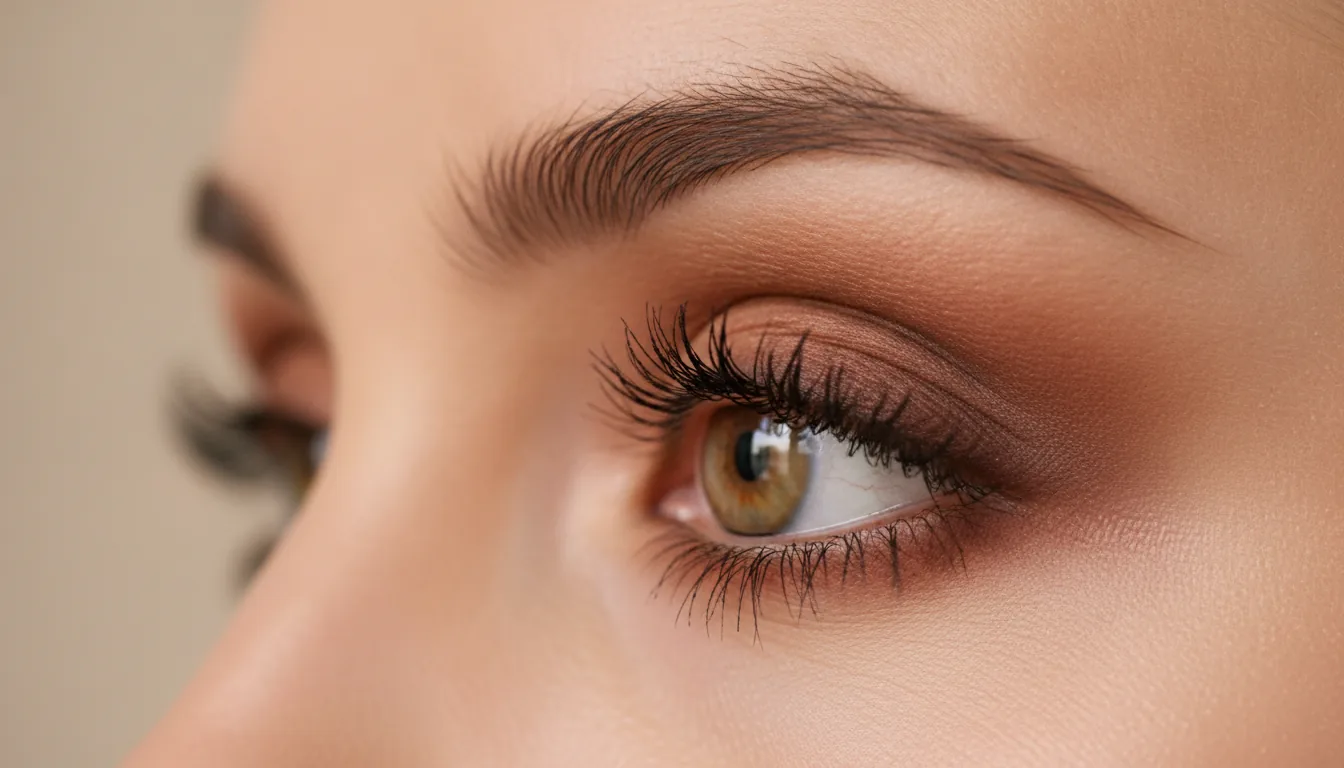
An eye makeup tutorial for beginners. Learn how to prime the lids, blend colors in the right order, and avoid mistakes that ruin an otherwise good look.
Getting the Canvas Right
A good eye makeup tutorial always begins with the lid, not the color. An oily or creased lid makes shadow slide, crease, and fade within hours. Prime the lid with a dedicated primer or a thin layer of concealer set with a little powder. This grips the pigment and gives you a smoother surface to blend on.
Know your eye shape before you copy a look from a video. Hooded lids swallow color placed too high, while round eyes carry a thin line well. Deep-set eyes need lighter shades to bring them forward, and wide-set eyes often suit definition along the inner corner. Adjusting placement to your own eyes matters more than following instructions exactly.
Gather a few basics: a light neutral, a mid-tone, a darker shade for depth, and two brushes, one flat and one fluffy. You do not need a large palette to start. Neutral browns and taupes are forgiving and suit almost everyone. Keep the brushes clean, because old powder on a brush turns every new look muddy.
The Order of Blending
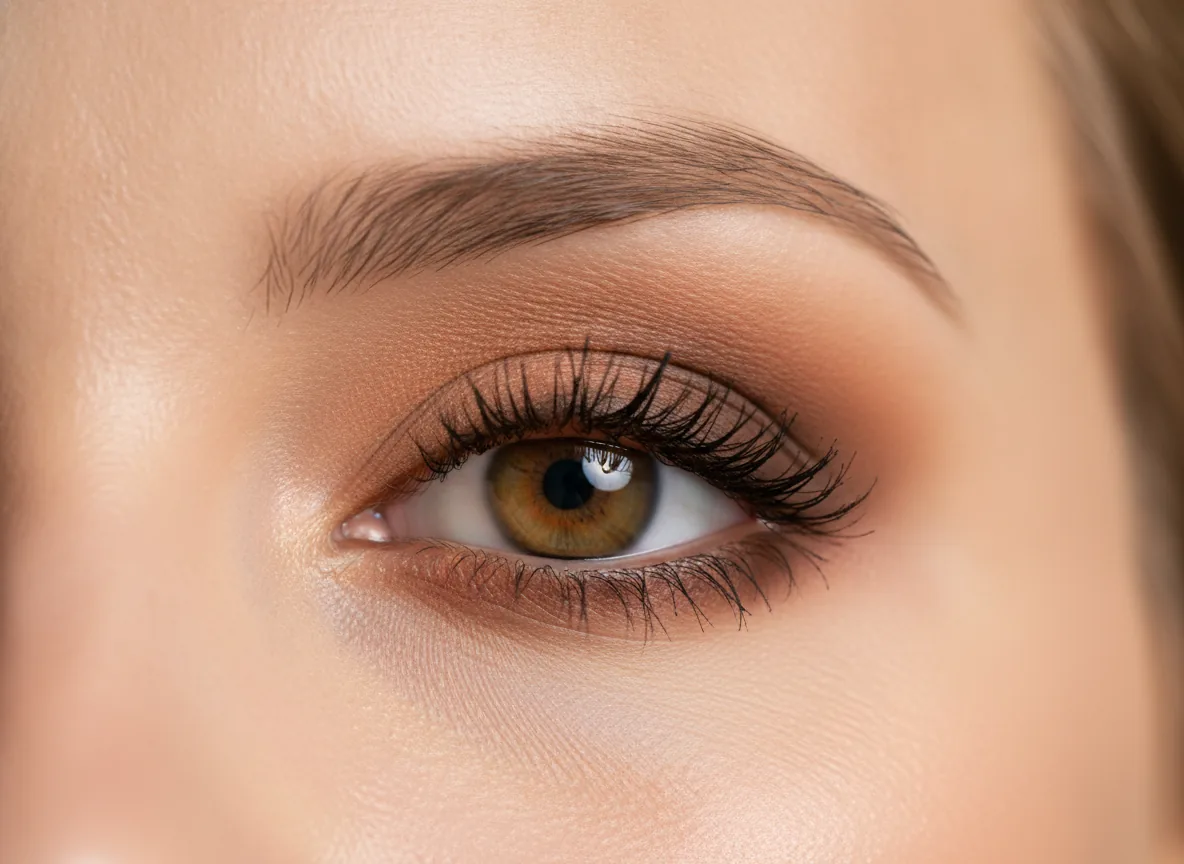
Blending order moves from light to dark, and from the crease outward. Start with the lightest shade over the whole lid to even the surface. Then add the mid-tone in the crease, building the depth gradually. Save the darkest shade for the outer corner and the lash line, where you want the most definition.
Always blend the crease before placing the outer corner, not after. If you layer dark color first, blending it later drags the pigment across the lid and makes a smokey mess. Place, blend, then check with your eye open. A look that seems fine with the eye closed often looks uneven once you open it.
Use a light hand and build in layers. Pressing a brush full of powder straight onto the lid deposits a hard patch that is hard to soften. Instead, tap off the excess and use small windscreen-wiper motions in the crease. Two or three thin passes give a smoother gradient than one heavy application ever will.
Step-by-Step Eye Base
This eye makeup tutorial walks through a simple, everyday sequence. Begin with your primed lid, then sweep the light neutral shade from lash line to brow bone. This base evens the surface and makes every color placed on top blend more easily. Keep it sheer; you are setting a foundation, not building a finished look yet.
Next, take the mid-tone on your fluffy brush and sweep it through the crease in small circles. Build the color until you see soft depth when your eye is open. Then place the darkest shade at the outer corner and along the upper lash line, stopping about two-thirds of the way in and blending the edges inward.
Finish the eye with a thin line along the upper lashes and one or two coats of mascara. If you want to check whether the shape suits you before committing, aitrytry.com lets you preview eye makeup on a selfie, so you can compare a soft look against a stronger one before you buy anything new. It saves trial and error.
Mistakes That Flatten the Eyes
The most common mistake is skipping primer and blaming the shadow when it creases. Another is using a shade that is too dark too early, which leaves a hard, unblended streak across the lid. A third is blending with a dirty brush, mixing yesterday's brown with today's color and dulling both. Each of these is easy to fix.
Dragging color below the lower lash line too far makes eyes look smaller and tired. Keep the lower lash line light, using just a touch of the mid-tone close to the outer corner if you use anything at all. Lining the entire lower rim in black is another habit that shrinks a small eye instead of opening it.
Uneven sides are normal and usually come from rushing. Do the tricky side first, while your hand is steady and your patience is fresh, then match the easier side to it. Keep a clean brush nearby to soften any edge that turns out too sharp. Small corrections blend away; big ones require starting over.
Clean-Up and Finishing Touches
If shadow drops onto your cheeks, do not rub it off and smear your base. Wait until the eye is finished, then lift the flecks with a clean, slightly damp cotton swab or a piece of tape. Light dabbing works better than sweeping. Cleaning up at the end keeps your base intact and saves you from reapplying foundation.
Tightlining, or lining the upper waterline, makes lashes look fuller without a visible line. Use a soft pencil and small dashes rather than one long stroke. This is optional, so skip it if your eyes water easily. A little inner-corner highlight with a light shimmer shade opens the eye and balances the darker outer corner.
Step back and look at both eyes from a normal distance. Zoomed-in checks can make you overwork a look that already reads well. If one side is slightly stronger, soften it rather than building up the other to match. With practice, this eye makeup tutorial becomes a quick routine, and the blending that once felt tricky turns automatic.
See it on your own photo
Upload one photo, choose a look, and preview the result in seconds. New accounts start with 20 free credits and every generated image costs 10.
Try AI Makeup